How to fix a Dexter 3.6V electric screwdriver that does not rotate

Few days ago I was working on my new wooden planters made with recycled pallets and when I was about to screw the sides I realized that the Dexter FC36LSD electronic screwdriver was not rotating. I left it charing all night but the day after it was still not working with the same issue: the light on but it would not rotate.

At home we are trying to adopt many zero waste practices and in general we are recycling and reusing as much as possible, so I decided to fix the screwdriver. My first guess was that the battery had stopped working. I disassembled the device in order to checked and indeed the 3.6V battery cell had only charged up to 0.573V.

Replacing the battery is pretty easy. You will need:

  • A new battery. I bought a lithium 18650 type from Amazon.
  • Star screwdriver.
  • Soldering iron.
  • Tin solder wire.
  • Sander.

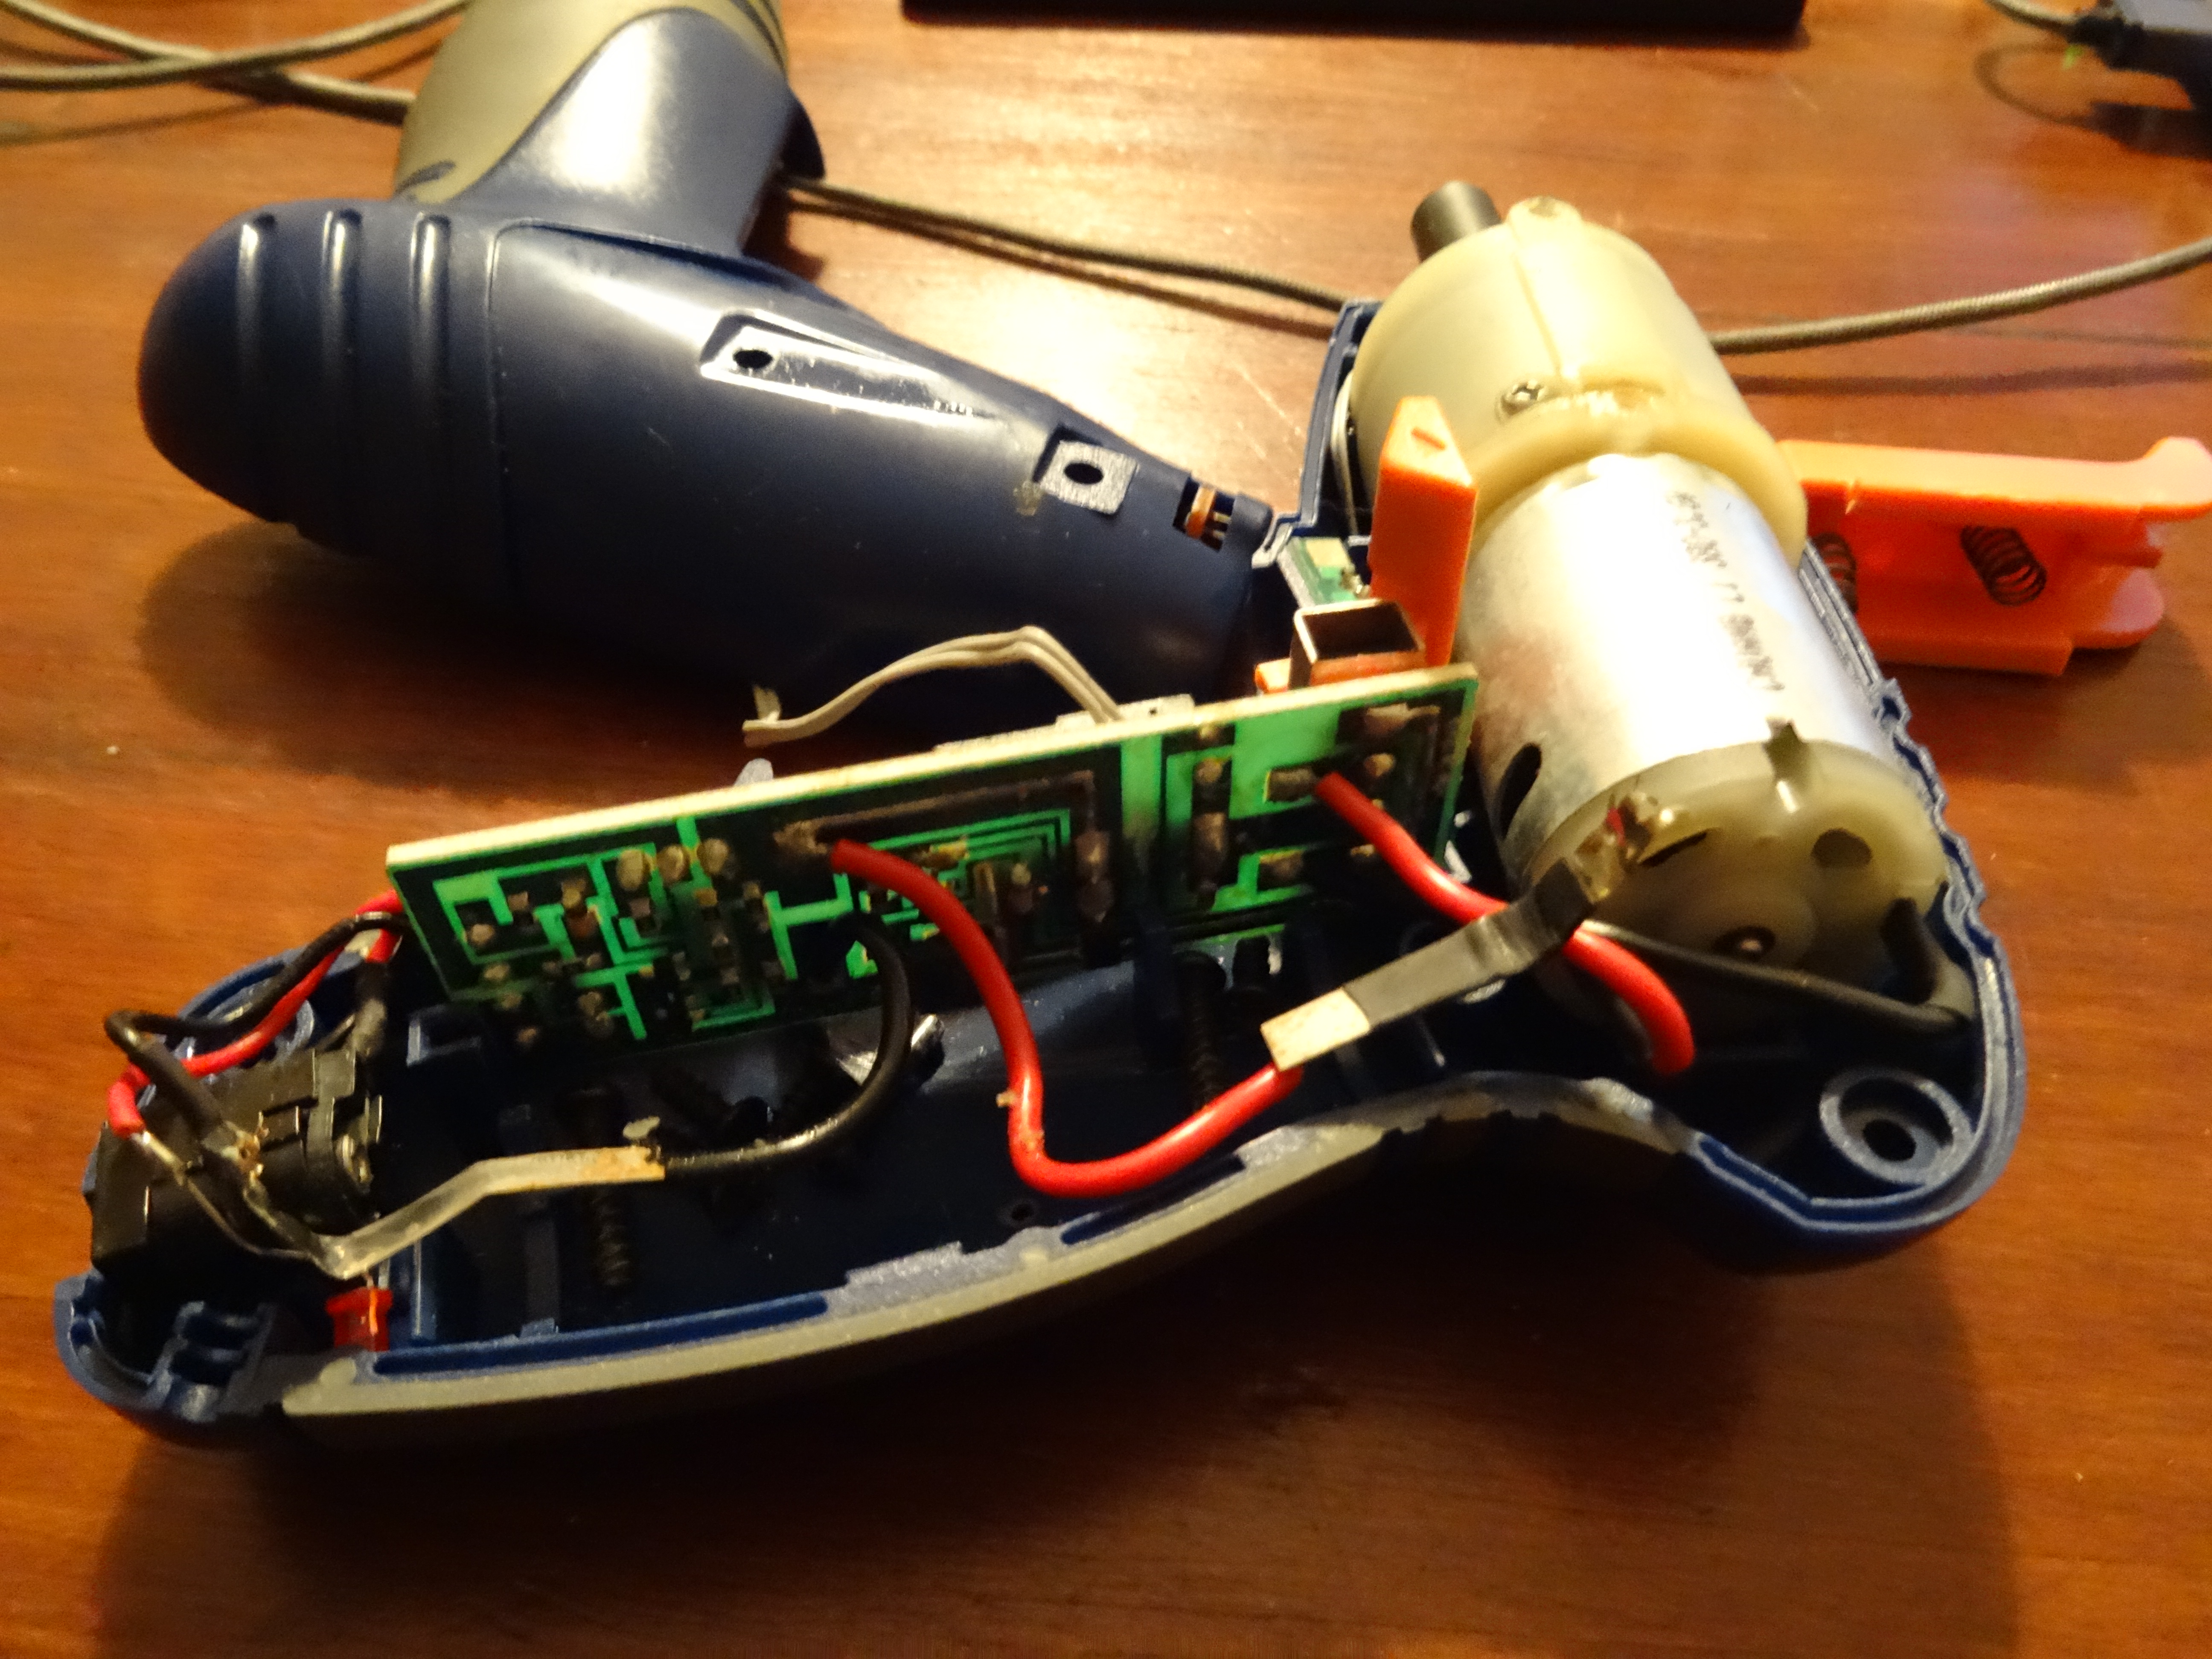
First remove all the screws, including those under the stickers.

Then remove the cover.

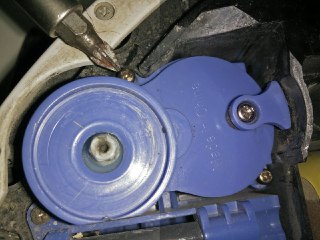
Now carefully separate the 2 covers and remove the battery pulling the battery connectors.

Here we can see the battery does not reach the required tension once completely recharged.

If you are going to solder using a soldering iron, it is very important that you previously sand the chrome part of both poles. Otherwise the tin will not be soldered.

Now you can place the 2 bumpers that came with the old battery again.

¡Ready! We need to solder the battery and place the screwdriver covers, and it works again.


How to fix the side brush of the Roomba

As you know, I always recommend automatic cleaning robots, since I’m passionate about anything that automates repetitive tasks. We recently purchased a a Conga, with which we are very happy, but we also had an iRobot Roomba 520 for about 7 years, which I have been improving with some new components.

Since few weeks ago the side brush of the Roomba stopped working. And we have 2 wonderful felines, that during some periods of the year spread hair all over the house. These hairs are filtered through all the components of the Roomba and that is why it is very important to clean the device so often, thus ensuring correct operation.

After cleaning the hairs that were stuck on the side brush as I usually do, I noticed that it was not spinning because there was excessive clearance between the gears. If the same thing has happened to you, do not worry, solving it is very simple.

Unscrew the side brush and remove it. Then unscrew the remaining screws and lift the main cover.

Remove the 2 small screws from the side brush motor.

Now you can remove the side brush module.

Remove the main screw. I did not have a screwdriver of that type so I used a smaller plane to remove it.

It was time to prepare the piece that will help us solve the problem. Cut off the cap of a plastic bottle, so that only the flat surface remains, adjusted to the diameter of the gear.

Reassemble all the pieces and you’re done. I hope this helps you solve the problem with your Roomba.


Mountain Lion installation errors in hard disk

Mountain Lion installation

Last week I tried to update my system from Lion to Mountain Lion but the installation failed and claimed the hard disk was damaged and couldn’t be repaired. After that my Macbook would only boot up the Mountain Lion installer continuously and wouldn’t let me access again my Lion disk.

I spent few nights trying hundred of workarounds and when I was about to erase the disk the light came. After trying to repair the volume with Disk Utility I saw the problem was an Invalid volume file count error.

That’s what I did to both up again my Lion installation, fix the problems in the hard disk and install Mountain Lion. You will need Disk Warrior and an external hard disk.

Recovering your previous Mac OS installation.

  • Boot in safe mode. Restart your mac and after the chime press and hold the Shift key until you see a progress bar.
  • If you haven’t done it yet, install Disk Warrior.
  • Go to Preferences > Startup Disk and select the volume that contains your old operating system.

Creating an alternative boot up volume

Fixing the disk

  • Boot with the volume you just created.
  • Run Disk Warrior and rebuild the volume.
  • Reboot your computer.
  • Disconnect the external hard disk.

Enabling file journaling again

  • Open the Disk Utility.
  • Select the volume that has your Mac OS system.
  • Choose Enable Journaling from the File menu.

Installing Mountain Lion

  • We are ready! Just run the installer again and enjoy Mountain Lion!
  • Remember to backup your data periodically.
Other things that didn’t work for my but may be helpul in other cases:
  • Boot from the Disk Warrior CD -> It didn’t show the volume with my old Mac OS system.
  • Boot from the recovery partition and try to fix the problem with the Disk Utility -> Disk Utility wasn’t able to fix the problem.
  • Boot in single user mode and try to fix the problem with fsck and fsck_hfs -> fsck wasn’t able to fix the problem.
  • Check this thread from the Apple Discussions, where Karl other useful workarounds.