[:es]Cómo arreglar un destornillador eléctrico Dexter de 3.6V que no gira[:en]How to fix a Dexter 3.6V electric screwdriver that does not rotate[:]

[:es]Hace unos días estaba trabajando en mis nuevas jardineras hechas con palets reciclados y cuando me disponía a atornillar los laterales me di cuenta que el destornillador eléctrico Dexter FC36LSD no giraba. Lo dejé cargando toda la noche pero al día siguiente seguía con el mismo problema: la luz se enciende pero no gira.

En casa intentamos adoptar muchas prácticas zero waste y en general reutilizar y reciclar el máximo posible, así que decidí arreglar el destornillador. Mi primera sospecha fue que la batería había dejado de funcionar. Así que lo desmonté y procedí a comprobarla. Efectivamente, la celda de 3.6V únicamente había cargado 0.573V.

Substituir la batería és muy fácil. Necesitarás:

  • Una batería nueva. Yo compré una batería de litio de tipo 18650 por Amazon.
  • Destornillador de estrella.
  • Soldador.
  • Estaño.
  • Lija.

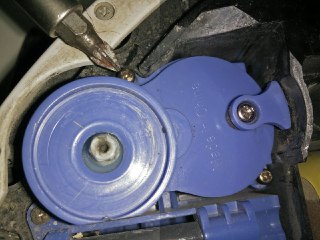
En primer lugar desenrosca todo los tornillos, incluyendo los que hay debajo de las pegatinas.

A continuación extrae la cubierta.

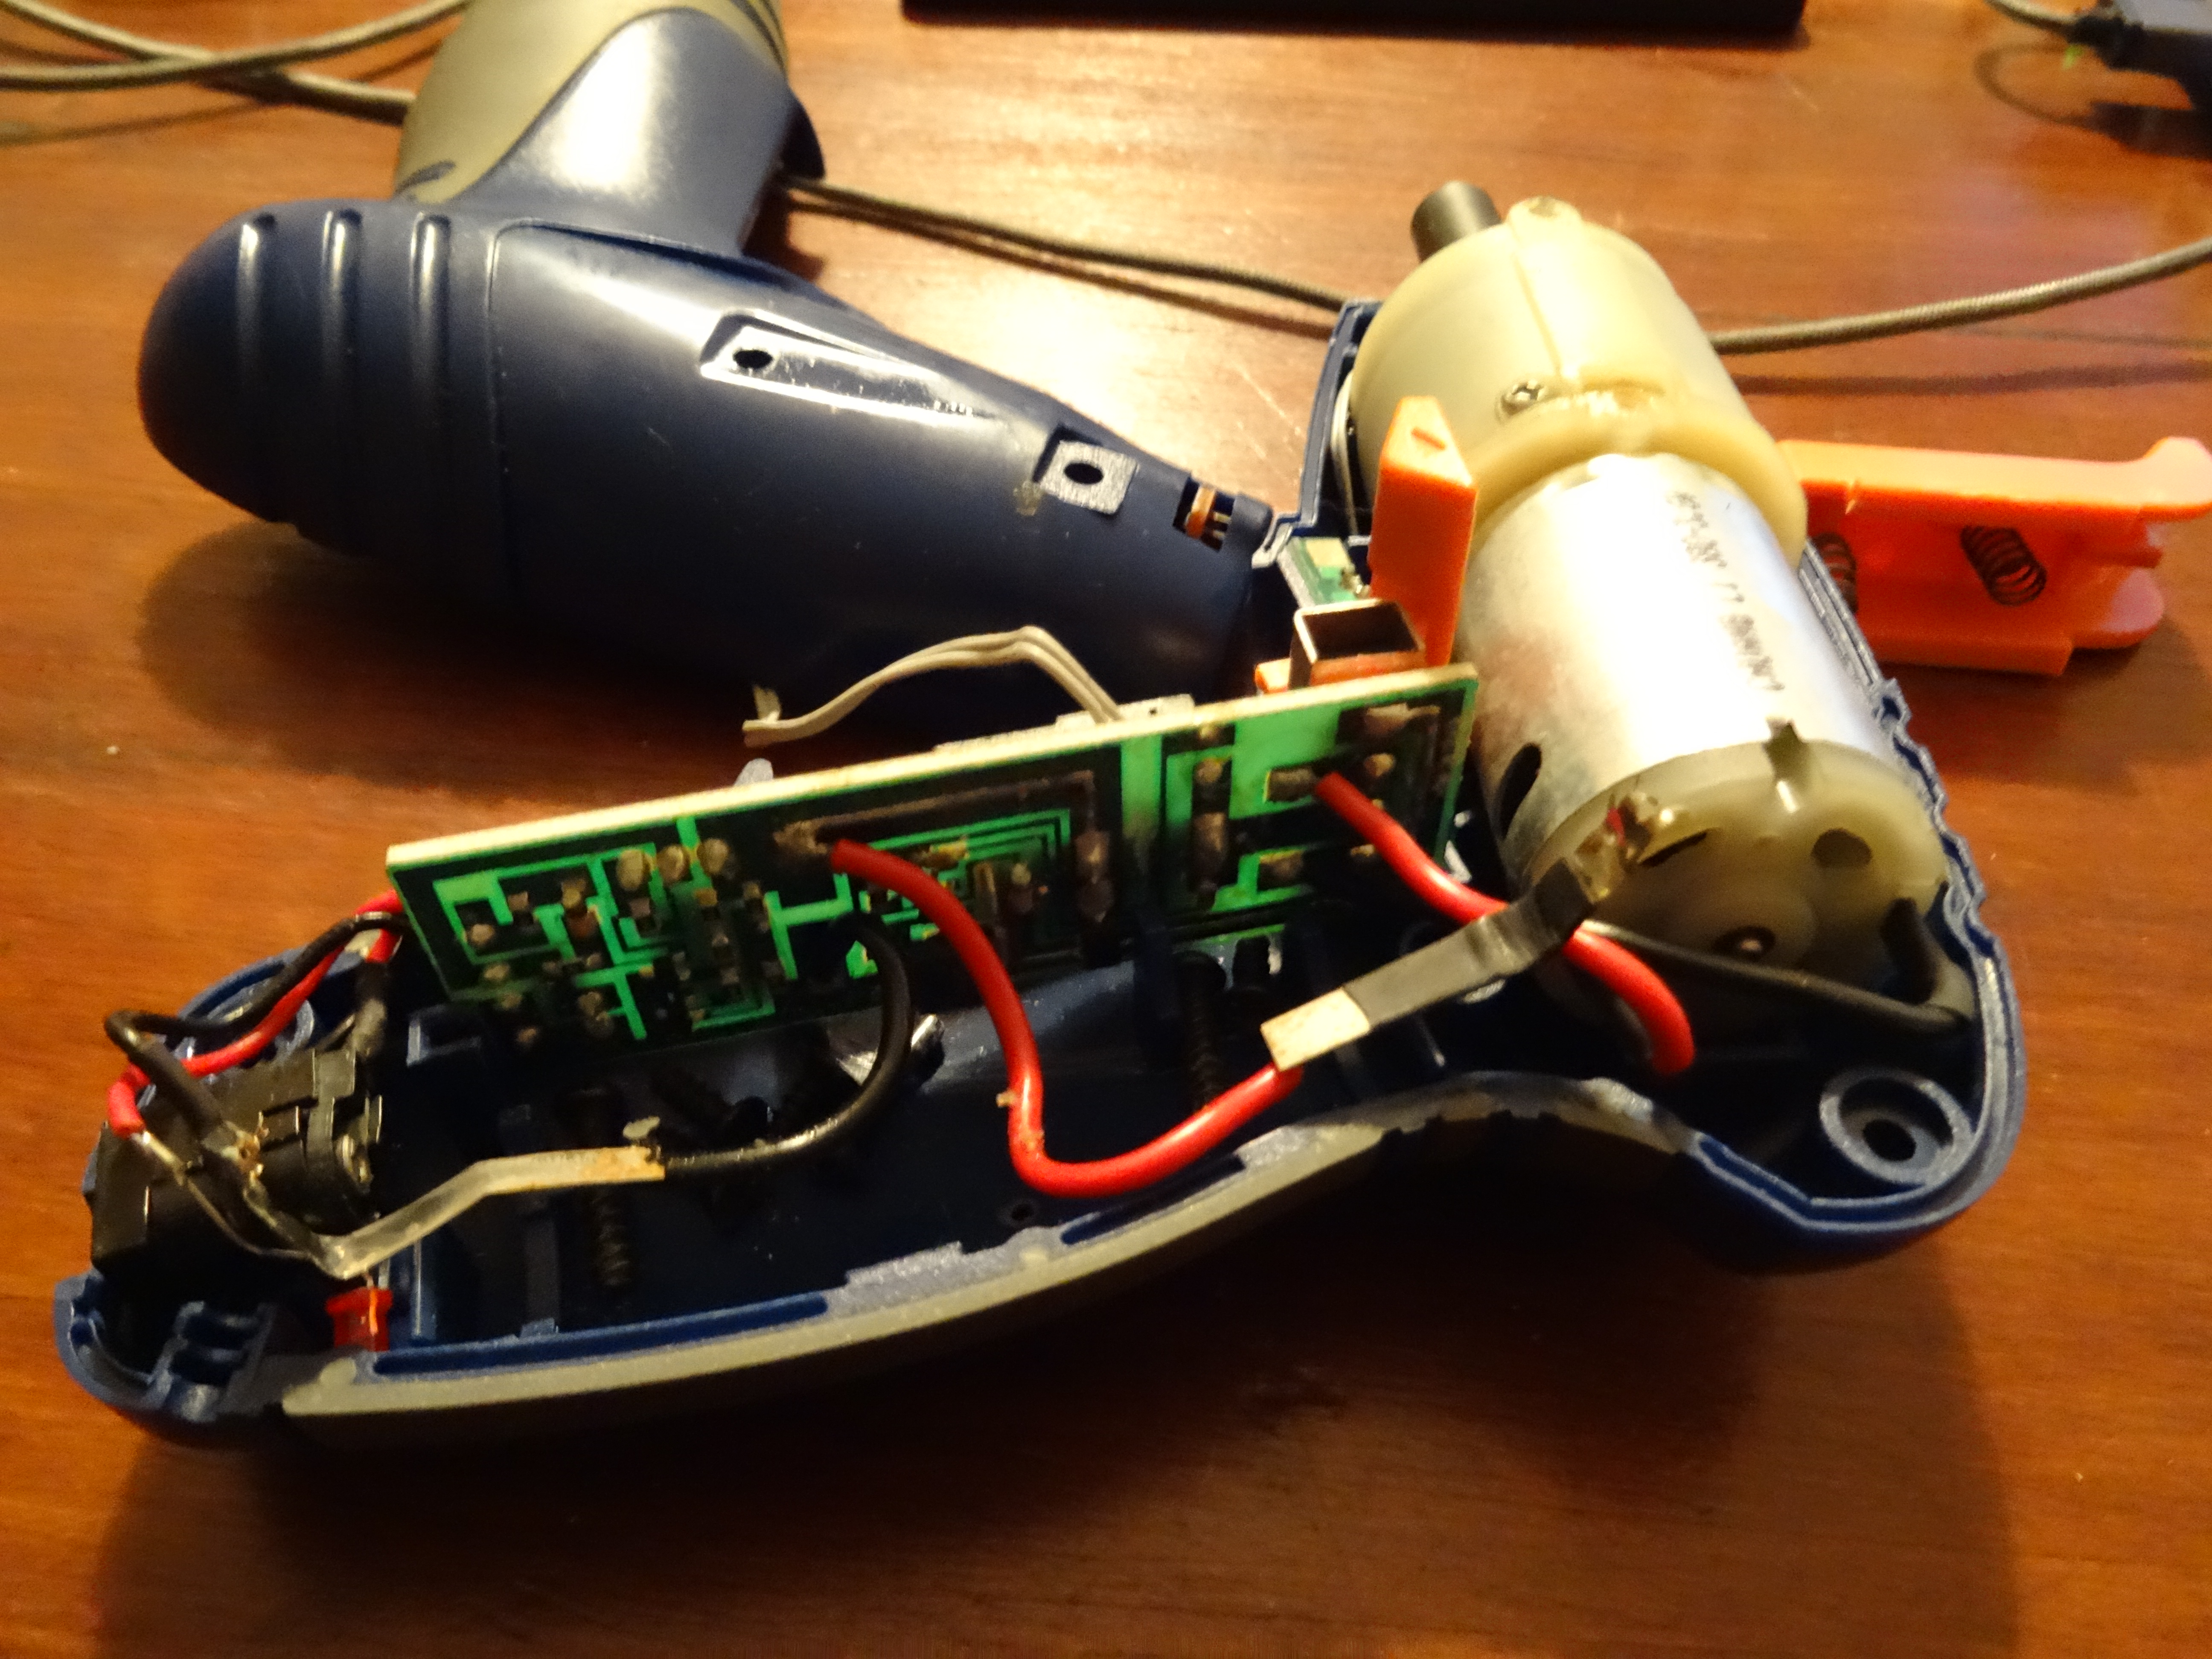
Separa las 2 tapas y extrae la batería separándola con cuidado de los bornes.

Aquí podemos ver cómo la batería no alcanza la tensión necesaria una vez cargada por completo.

Si vas a soldar con soldador de punta es muy importante que antes lijes la parte cromada de ambos polos. De otro modo el estaño no se soldará.

Ahora ya puedes volver a colocar las dos gomas protectoras que venían con la antigua batería.

¡Listos! Soldamos la batería y volvemos a cerrar el destornillador, que vuelve a funcionar como el primer día.


 [:en]Few days ago I was working on my new wooden planters made with recycled pallets and when I was about to screw the sides I realized that the Dexter FC36LSD electronic screwdriver was not rotating. I left it charing all night but the day after it was still not working with the same issue: the light on but it would not rotate.

At home we are trying to adopt many zero waste practices and in general we are recycling and reusing as much as possible, so I decided to fix the screwdriver. My first guess was that the battery had stopped working. I disassembled the device in order to checked and indeed the 3.6V battery cell had only charged up to 0.573V.

Replacing the battery is pretty easy. You will need:

  • A new battery. I bought a lithium 18650 type from Amazon.
  • Star screwdriver.
  • Soldering iron.
  • Tin solder wire.
  • Sander.

First remove all the screws, including those under the stickers.

Then remove the cover.

Now carefully separate the 2 covers and remove the battery pulling the battery connectors.

Here we can see the battery does not reach the required tension once completely recharged.

If you are going to solder using a soldering iron, it is very important that you previously sand the chrome part of both poles. Otherwise the tin will not be soldered.

Now you can place the 2 bumpers that came with the old battery again.

¡Ready! We need to solder the battery and place the screwdriver covers, and it works again.


 [:]

[:es]Cómo arreglar el cepillo lateral de la Roomba[:en]How to fix the side brush of the Roomba[:]

[:es]Como ya sabéis, no me canso de recomendar los robots de limpieza automáticos, ya que me apasiona cualquier cosa que automatice las tareas repetitivas. Hace poco nos hicimos con un Conga, con el cual estamos muy contentos, pero también tenemos un iRobot Roomba 520 desde hace unos 7 años, que he ido mejorando con algunos componentes nuevos.

Desde hace unas semanas el cepillo lateral del Roomba dejó de funcionar. Y es que tenemos 2 maravillosos felinos, que en algunas épocas del año no paran de regalarnos pelos por toda la casa. Estos pelos se cuelan por todos los componentes del Roomba y es por ello que es muy importante limpiar el dispositivo cada poco tiempo, asegurando así un correcto funcionamiento.

Tras limpiar los pelos que habían quedado en el cepillo lateral como hago habitualmente, noté que éste ya no giraba debido a que existía una holgura excesiva entre los engranajes. Si te ha sucedido lo mismo, no te preocupes, solventarlo es muy simple.

Desatornilla el cepillo lateral y sácalo. Luego desatornilla el resto de tornillos y levanta la tapa principal.

Saca los 2 tornillos pequeños del motor del cepillo lateral.

Ahora ya puedes extraer el módulo del cepillo lateral.

Saca el tornillo principal. Yo no tenía un destornillador de ese tipo así que utilicé uno plano más pequeño para quitarlo.

Llegó el momento de preparar la pieza que nos ayudará a solventar el problema. Corta el tapón de una botella de plástico, de modo que solo quede la superficie plana, ajustada al diámetro del engranaje.

Vuelve a montar todas las piezas y ya está. Espero que esto te ayude a solventar el problema con tu Roomba.

 [:en]As you know, I always recommend automatic cleaning robots, since I’m passionate about anything that automates repetitive tasks. We recently purchased a a Conga, with which we are very happy, but we also had an iRobot Roomba 520 for about 7 years, which I have been improving with some new components.

Since few weeks ago the side brush of the Roomba stopped working. And we have 2 wonderful felines, that during some periods of the year spread hair all over the house. These hairs are filtered through all the components of the Roomba and that is why it is very important to clean the device so often, thus ensuring correct operation.

After cleaning the hairs that were stuck on the side brush as I usually do, I noticed that it was not spinning because there was excessive clearance between the gears. If the same thing has happened to you, do not worry, solving it is very simple.

Unscrew the side brush and remove it. Then unscrew the remaining screws and lift the main cover.

Remove the 2 small screws from the side brush motor.

Now you can remove the side brush module.

Remove the main screw. I did not have a screwdriver of that type so I used a smaller plane to remove it.

It was time to prepare the piece that will help us solve the problem. Cut off the cap of a plastic bottle, so that only the flat surface remains, adjusted to the diameter of the gear.

Reassemble all the pieces and you’re done. I hope this helps you solve the problem with your Roomba.

 [:]