Reemplaza el Sercomm FG824CD por ONT y router neutro

En esta entrada os explico cómo reemplazar el router Sercomm FG824CD con ONT integrada, por un router neutro y una ONT Nokia / Alcatel-Lucent g-010g.

¿Por qué reemplazar un router como el Sercomm FG824CD que nos proporciona nuestro proveedor?

Hay muchos motivos para querer substituir el router que te cede tu proveedor de Internet por uno propio. El principal: estos routers, como es el caso del Sercomm FG824CD, suelen ofrecer bajas prestaciones. Mientras que para la mayoría de usuarios puede ser suficiente, en el caso de que hagas un uso intensivo de tu conexión a Internet, puedes encontrarte con cuelgues continuos.

Por norma general, si tienes contratada fibra hasta tu domicilio, tu proveedor te ofrecerá una de estas dos opciones:

  • Un router con ONT integrada.
  • Un router y una ONT.

El flujo de conexión sería básicamente algo así, simplificando mucho: Proveedor de Internet <-> Fibra <-> ONT <-> Ethernet <->Router <-> Tus dispositivos. En caso de que la ONT esté integrada en el router, el cable de fibra simplemente va conectado al propio router.

A grosso modo, la ONT (Optical Network Terminal) convierte la señal de fibra óptica a otro medio, como puede ser una señal de banda ancha transmitida a través de Ethernet.

En un mundo ideal tu proveedor de Internet debería facilitarte poder substituir estos equipos por unos de tu conveniencia, pero esto no es así. El motivo que éstos exhiben para no hacerlo es poder ofrecer un soporte completo, gestionando ellos remotamente los equipos cuando sea necesario. Pero también es cierto que utilizando los equipos que te proporcionan, es prácticamente imposible exprimir el ancho de banda que tienes contratado.

En mi caso, cuando Karen y yo empezamos a trabajar desde casa, utilizando la conexión de manera simultánea, nos encontramos con cuelgues continuos, lo cual es un pequeño gran inconveniente cuando estás en medio de una videoconferencia. Mi ISP (Internet Service Provider) tardó varios meses y decenar de reclamaciones en substituir los equipos que tenía por otros, que resultaron igualmente deficientes. ¿Cuál fue la solución? Comprar un router neutro que ejerce la mayoría de funciones de enrutamiento en la red local y mantener el router con ONT integrada como pasarela de salida. Esto hizo que ya no se cuelgue la conexión cada poco rato, pero incluso así he de reiniciar el router de la operadora si no quiero perder la conexión o ver reducida la velocidad drásticamente cada vez que hago un uso intensivo de la conexión.

Así que decidí dar un paso más y eliminar el router Sercomm FG824CD con ONT integrada que proporciona mi proveedor y sustituirlo por una ONT externa y mi router neutro. Aquí os explico cómo lo hice.

¿Qué necesitas?

  • Un router neutro que soporte 802.1Q.
  • Una ONT compatible con tu proveedor de Internet (en este caso utilizaremos la Alcatel-Lucent/Nokia G-010G-P).
  • Los datos para configurar la ONT (PLOAM Password) y el router (VLAN ID).

Obteniendo el PLOAM Password

Por defecto el router nos da muy pocas opciones para acceder a los detalles de la configuración y como puedes imaginar, los datos para configurar la ONT no están incluidos. Para poder obtenerlos utilizaremos una vulnerabilidad que nos permite suplantar el rol con el cual accedemos al router. No nos va a permitir interactuar como administrador, pero sí nos dará acceso a la información que necesitamos.

Primero accede la interfaz web del router entrando a http://192.168.1.1/ desde tu navegador e inicia la sesión con los credenciales de usuario, que por defecto son 1234/1234. Posteriormente navega al apartado Settings.

Luego tendrás que abrir la consola de desarrollador (F12 en Chrome) y abriremos el fichero “mainFunctions.js”. Lo siguiente que haremos es añadir un breakpoint (pausa de ejecución) en la línea 71, donde aparece:

        usermode = getUserData('usermode', data);

Para ello simplemente haz click en el número de la línea:

A continuación recarga la página (F5) y verás que la carga se queda pausada en la línea para la que hemos añadido un breakpoint. Ahora desplegaremos el panel Scope > Local > data y cambiaremos los siguientes valor “usermode” a “admin”. Luego hacemos click en el botón superior de play para continuar con la carga.

Verás que tras continuar la carga, ahora te aparecen nuevos menús, entre los que se encuentra el que nos interesa: “GPON”. Al entrar puedes observar que nos muestra el PLOAM Password pero su contenido está oculto. Para mostrarlo vamos a seleccionar un elemento de la página (Control + Shift + C) y hacemos click en el campo:

Hacemos doble click en type=”password” y lo eliminamos. Con esto obtenemos el valor hexadecimal del PLOAM Password, con formato hexadecimal.

Configurando la ONT

Primero vamos a conectar la ONT a nuestro equipo a través de un cable ethernet y configurar la IP de nuestro equipo en el rango 192.168.100.0/24. Por ejemplo, puedes usar:

  • IP: 192.168.100.23
  • Máscara de red: 255.255.255.0

A continuación accedemos a dirección http://192.168.100.1/ desde nuestro navegador, que nos mostrará la página de acceso a la configuración de la ONT:

Accedemos con los credenciales por defecto: admin/1234

Aquí entraremos el PLOAM password, precedido de “0x” en el campo “New ONT ID(PLOAM psw)” y le damos al botón “Update”. Es decir, si el valor de PLOAM password que obtuviste anteriormente es f123456789, aquí pondríamos 0xf123456789.

Conectamos la ONT al cable de fibra y tras unos segundos una luz verde debería indicarnos que la conexión es correcta.

Configurando el router neutro

En este paso vamos a configurar nuestro router para que obtenga una IP dinámica en el puerto WAN y utilice la configuración VLAN ID 20, con prioridad 0. Aquí la configuración dependerá de cada router. En mi caso como no tengo contratados ni teléfono ni TV IP, simplemente configuro la VLAN para Internet con el ID 20 y los otros dos pongo valores aleatorios:

Una vez actualices la configuración, conecta el router a la ONT a través de un cable ethernet ¡y listo! Ya podemos utilizar la conexión con nuestros propios equipos sin depender del router que nos proporciona la compañía de internet.

Referencias y enlaces de interés

Store IP camera motion-detected videos in Dropbox using a Raspberry Pi

This is quick how-to explaining how to store videos from an IP camera into a remote storage service, each time motion is detected in the camera – in this case we will be using Dropbox.

Simcam IP cameras and Raspberry Pi

The default setup provides limited video quality but in my case this is fine since the cameras themselves keep a HD version of the recordings. I just wanted this to work as a remote backup in case any of the cameras are vandalised.

What do you need?

The same setup can be completed with similar components (e.g. you could use a USB camera instead). For illustrative purposes, these are the things I’ve used:

  • Hardware:
    • IP camera.
    • Raspberry Pi.
    • SD Card.
  • Software:
    • Any Debian-based distribution installed on the Raspberry Pi.
    • Motion.
    • Dropbox uploader.
  • 3rd party services:
    • Dropbox account

This guides assumes that the following setup is already completed:

  • Your IP camera has already been assigned a valid IP and/or rtsp address.
  • Your Raspberry Pi is up and running with either SSH access or console access through a video interface.

Installing and configuring Motion

Motion is a pretty interesting software that is able to process streams of video from different devices and allows triggering actions based on the motion detection, storing video on specific locations and streaming it.

First thing first, we will ensure the Operating System is updated:

sudo apt-get update && sudo apt-get upgrade -y

We are then ready to install Motion:

sudo apt-get install motion

Now it’s time to tweak the Motion configuration, to add the IP camera address, configure Motion to be started as a service and define the directory where the videos will be stored.

Let’s edit the /etc/motion/motion.confto modify the following settings.

Set the camera RTSP address:

netcam_url rtsp://username:password@camera_IP

Set the target directory where the videos will be stored:

target_dir /path/to/video/recordings

Enable Motion to be run as a daemon, insteado of running it manually:

daemon on

Allow camera stream to be used from other hosts (by default is restricted to localhost):

stream_localhost off

Allow web UI to be used from other hosts (by default is resitricted to localhost):

webcontrol_localhost off

Now we will edit the /etc/default/motion file to enable Motion to be run as a service by changing the following property:

start_motion_daemon=yes

You can now start the Motion service:

sudo service motion start

You should now be able to access the Motion web UI at http://raspberry_pi_address:8080

Installing and Configuring Dropbox Uploader

There isn’t an official Dropbox client that runs on the Raspberry hardware, but there is pretty decent alternative called Dropbox Uploader that allows uploading, downloading, deleting and listing Dropbox files. The only thing that does not seem to be supported is synchronisation.

Clone Dropbox Uploader into your preferred path by doing:

sudo apt-get install git git clone https://github.com/andreafabrizi/Dropbox-Uploader.git

Run Dropbox Uploader for the first time and you will be asked for your Dropbox API key. The script itself will give you instructions to obtain the key:

./dropbox_uploader.sh

Schedule automated upload of the videos to Dropbox and clean up

We will add 2 Cron jobs which will:

  • Upload the vídeos to Dropbox every minute.
  • Delete videos that are older than 7 days from the Raspberry Pi (credits to heiko)

Type:

sudo crontab -e

And add the following lines:

* * * * /path/to/dropbox_uploader/dropbox_uploader.sh upload /path/to/your/videos/* / >> /var/log/dropbox-uploader/dropbox-uploader.log
0 0 * * * /usr/bin/find /path/to/your/videos/* -name "*.*" -type f -mtime +7 -exec rm -f {} \;

I’m not scheduling the automated deletion from Dropbox since I want to check them manually first. Using the default video quality means that motion-detected videos of 20 seconds use only around 300 KB.

More information

Motion project

Dropbox Uploader

Raspberry Pi

How to fix a Dexter 3.6V electric screwdriver that does not rotate

Few days ago I was working on my new wooden planters made with recycled pallets and when I was about to screw the sides I realized that the Dexter FC36LSD electronic screwdriver was not rotating. I left it charing all night but the day after it was still not working with the same issue: the light on but it would not rotate.

At home we are trying to adopt many zero waste practices and in general we are recycling and reusing as much as possible, so I decided to fix the screwdriver. My first guess was that the battery had stopped working. I disassembled the device in order to checked and indeed the 3.6V battery cell had only charged up to 0.573V.

Replacing the battery is pretty easy. You will need:

  • A new battery. I bought a lithium 18650 type from Amazon.
  • Star screwdriver.
  • Soldering iron.
  • Tin solder wire.
  • Sander.

First remove all the screws, including those under the stickers.

Then remove the cover.

Now carefully separate the 2 covers and remove the battery pulling the battery connectors.

Here we can see the battery does not reach the required tension once completely recharged.

If you are going to solder using a soldering iron, it is very important that you previously sand the chrome part of both poles. Otherwise the tin will not be soldered.

Now you can place the 2 bumpers that came with the old battery again.

¡Ready! We need to solder the battery and place the screwdriver covers, and it works again.


How to fix the side brush of the Roomba

As you know, I always recommend automatic cleaning robots, since I’m passionate about anything that automates repetitive tasks. We recently purchased a a Conga, with which we are very happy, but we also had an iRobot Roomba 520 for about 7 years, which I have been improving with some new components.

Since few weeks ago the side brush of the Roomba stopped working. And we have 2 wonderful felines, that during some periods of the year spread hair all over the house. These hairs are filtered through all the components of the Roomba and that is why it is very important to clean the device so often, thus ensuring correct operation.

After cleaning the hairs that were stuck on the side brush as I usually do, I noticed that it was not spinning because there was excessive clearance between the gears. If the same thing has happened to you, do not worry, solving it is very simple.

Unscrew the side brush and remove it. Then unscrew the remaining screws and lift the main cover.

Remove the 2 small screws from the side brush motor.

Now you can remove the side brush module.

Remove the main screw. I did not have a screwdriver of that type so I used a smaller plane to remove it.

It was time to prepare the piece that will help us solve the problem. Cut off the cap of a plastic bottle, so that only the flat surface remains, adjusted to the diameter of the gear.

Reassemble all the pieces and you’re done. I hope this helps you solve the problem with your Roomba.


Connect to a remote Xvfb server using VNC and a SSH tunnel

Xvfb is an in-memory display server commonly used to execute programs that require a UI in a server which does not have a screen output. Using Xvfb is very convenient when your automated tests are executed in a remote server and orchestrated by a Continuous Integration system.

While having a VNC server running in production instances is not always a great idea due to the potential security flaws, opening port 5900 on this server to allow external connections sounds even worse. This post will guide you through the steps required to access a remote VNC server via an SSH tunnel, without opening any additional ports.

Assuming that Xvfb is already running in your server and the display has been exported to :99, the next step is to install x11vnc:

sudo yum install -y x11vnc

IMPORTANT: Connections to remote x11vnc servers are not password protected by default which leaves your server accessible to potential attackers. Make sure x11vcn is always started with the argument ‘-rfbauth ‘.

We will now establish the tunnel to access the x11vnc server through SSH. This needs to be done in your workstation:

ssh -i [SSH key] -l [username] -L 5900:localhost:5900 [server hostname] ‘x11vnc -display :99 -localhost -rfbauth [VNC server password file]’

You are now ready to access your remote server screen by using a VNC client in your workstation and connecting to localhost:5900

Install LineageOS on top of CyanogenMod ROM

lineageos

This post will guide you through the installation of LineageOS on top of CyanogenMod. While data could be preserved during the upgrade using the EXPERIMENTAL releases, this did not work for my OnePlus One so I had to go for the full upgrade and then use the Google Backup to restore my data.

DISCLAIMER: This is an experimental process and might damage your phone or affect the integrity of your data. It is always a good idea to use backups.

Required downloads

Installing TWRP

The instructions below work on Windows.

1. Open a command line and navigate to the directory where you have downloaded the SDK Platform Tools.

2. Disable the CM Recovery protection in Settings > Developer Options > CM Recovery option.

3. Put your device into bootlader mode – If this isthe first time you are using the SDK, you will probably need to accept the connection in your phone:

    adb reboot bootloader

4. Unlock the boot – this will wipe all your data!

    fastboot oem unlock

5. When the welcome screen appears, reboot your devide and enter into bootloader mode by pressing volume down + power buttons for 10 seconds. Once the recovery menu appears select the option to boot from bootloader.

6. Flash the TWRP image:

    fastboot flash recovery twrp-3.0.x.x-xxx.img

5. Wait until the flash process is completed and then reboot your device:

    fastboot reboot

Flashing LineageOS release

6. Shut down your device and boot it in TWRP recovery by pressing the volume down + power buttons until the logo appears.

7. Copy the LineageOS images to your phone.

8. Select ‘Install’ in your phone and select the LineageOS image.

9. Swipe to confirm Flash.

Install Gapps

10. Copy the Gapps package to your phone.

11. Select ‘Install’ in your phone and select the Gapps package.

12. Enable the checkbox to reboot your device after the installation is complete.

13. Swipe to confirm Flash.

That should be it. If you have any question, feel free to ask on the comments.

Test your testing skills with the Atlassian QA Challenge

Today I found the Atlassian QA Challenge in this post during my morning feeds review, and I was quite delighted about the challenge itself! The company behind JIRA and Confluence proposes a set of exercises to train your abilities around security testing.

On the first exercise you will have to break in through a login form and get yourself authenticated on the system. After completing the first exercise you will be eager to test your abilities on the the other challenges!


atlassian qa challenge

Bug Driven Development

When a project backlog is turned into a repository where the majority of items are bugs, I like to think that we are then working under the premises of a Bug Driven Development process. Once this starts to happen you basically have 3 choices:

  • Review your user stories, trace them back to the original business requirements and ensure you have enough information to develop the work products.
  • Think about what caused the mess and try to fix it.
  • Start using Bug Driven Development.

Ideally we would go for the first option in order to have a clear view on the scope for the current Sprint. This could work when a) time permits, b) the team realizes about the problem and c) your options to further enhance the requirements definition through additional elicitation and analysis are good.

The second option proves to be the most reasonable idea when it comes to retrospectives. But it might cause a significant deviation (in money, time or quality) after having spent a whole Sprint building tentative components that are potentially useless, or would need an important rework.

And the only option left is Bug Driven Development (bDD); not to be confused with Behaviour Driven Development. I’m not trying to convince anyone that using bDD is a good idea, since reaching this status means that not only several aspects of the analysis have gone wrong, but also that you are increasingly doing it wrong. You would use bDD to enrich your user stories from bugs encountered in the system being tested.

And this exposes a high risk: testers covering the gaps from proper requirements analysis. But it also proves the importance of having testers in your Agile teams. When I’m asked how does Agile approach change the traditional role of testers, my answer is: it does not! While Agile emphasizes the importance of involving testers in the definition of the user stories and acceptance criteria, it has always been a good practice to have the requirements reviewed by testers (and the rest of the team) to make sure these were accurate, testable, measurable and anything that define them as SMART. Same happens in other parts of the testing process. Test automation? Reporting? Exploratory testing? I feel most of these topics became popular during the last few years but things are not done differently in general.

So what about using Bug Driven Development? Let’s think about this scenario: third Sprint, the Product Owner has not been deeply involved in the process and non-business users are appointed to attend the demos and sign-off the incremental part that has been built, user stories are too high level, the business analyst was only involved during the initial Sprint and the rest of the team does not have a profound domain knowledge. It sounds bad, right? But I told you: if you are using Bug Driven Development, this is the result of many things done wrongly in the first place.

Let’s use the example of the diagram below and put in a timeline:

bug driven development

  1. We have a business requirement which comes from the Project Charter or the Business Requirements Document, which defines the construction of a new interface to manually upload reconciliation files through sFTP. This is just a small part of the final solution and is targeted to be built as an increment on the current Sprint.
  2. As part of the initial analysis, the BR is broken down into 2 different User Stories: one of them relates to the user authentication and the other one to the upload process.
  3. While conducting the initial test design, the tester founds a lack of detail on the expected file extension which ends up in the addition of another user story defining the scenarios where it could contain zipped files of plain CSVs.
  4. After running one of the test cases for the first time, the tester founds a defect and while this is investigated the team founds that a user could switch from the base directory and browse sensitive data. This raises a concern and ends up with the addition of another user story to define the directories restrictions.
  5. The tester keeps exploring the system under test and founds something else as User Story N.

Some of these “discoveries” could have ended up as an enriched acceptance criteria, but the risk here is that an insufficiently defined requirement ends up with a significant amount of expectations in detriment of a very basic definition of its value or adherence to the business from a user point of view.

Obviously the sooner the user stories are enriched and completed, the less we will be using Bug Driven Development and the happier our lives will be 🙂

Install CentOS in your HP MediaSmart EX470

hp mediamart ex470
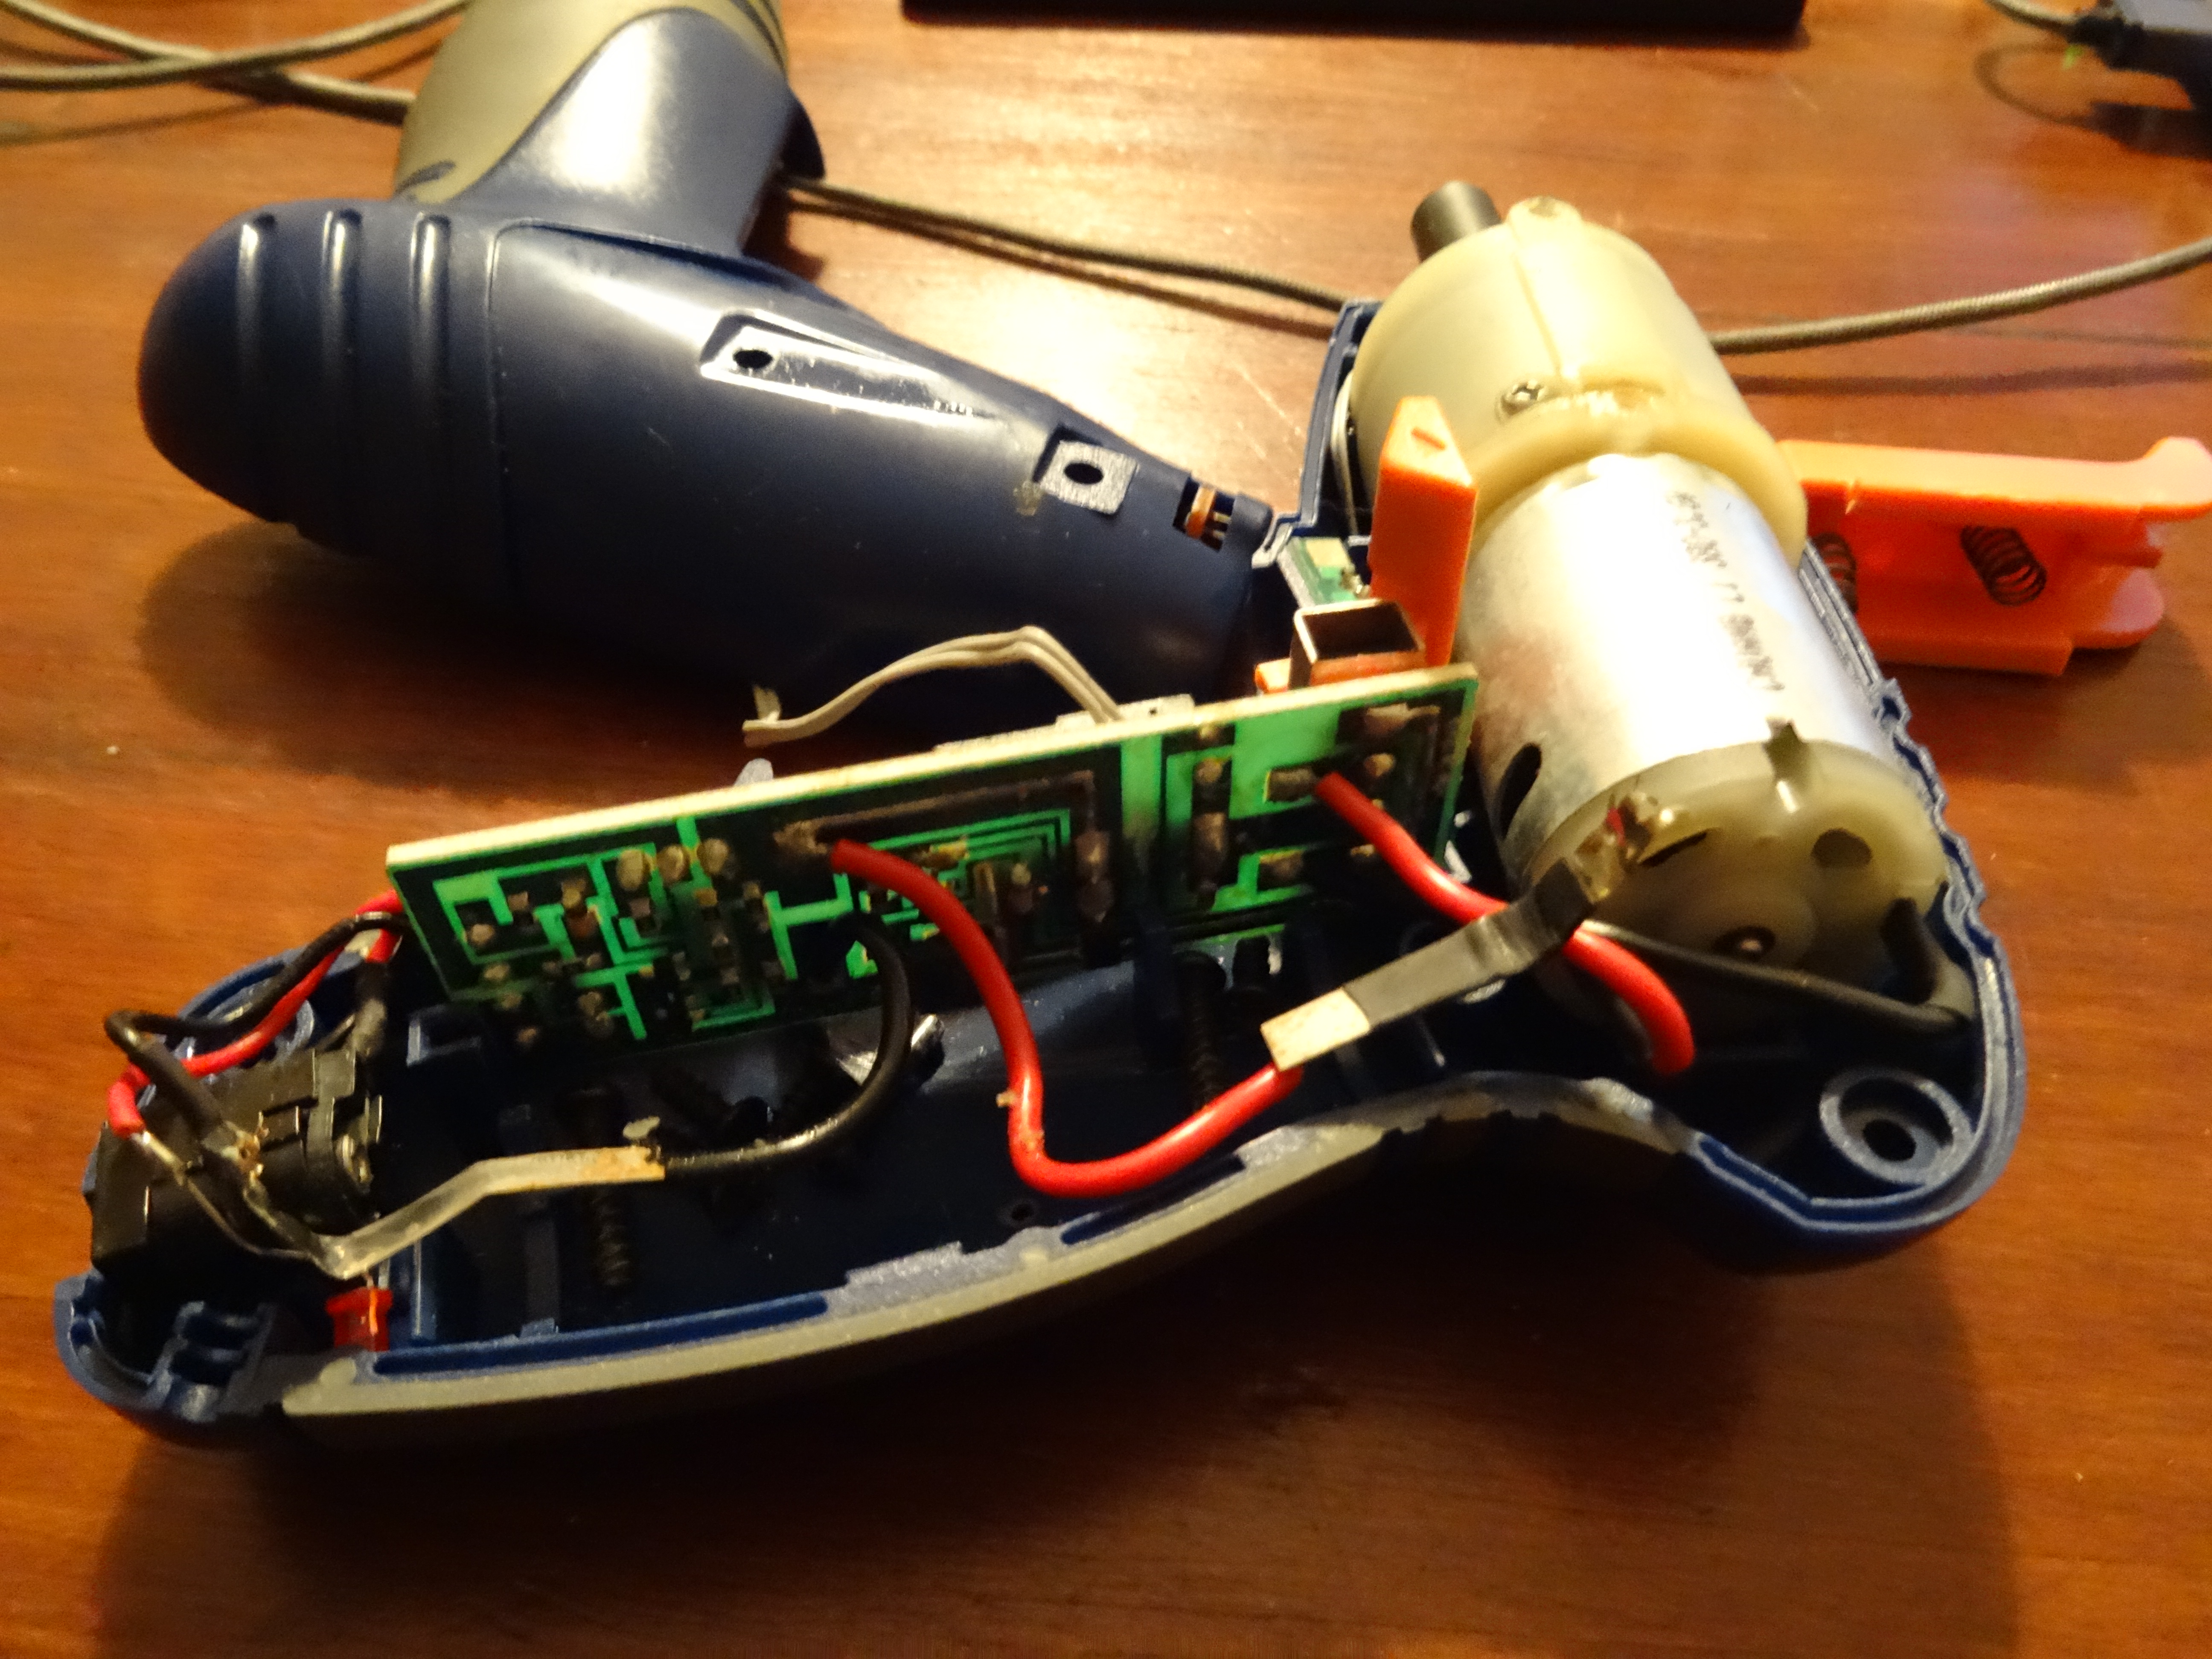
I have been using the HP MediaSmart EX470 home server for few years and it was quite a nice experience. Unfortunately HP decided to stop supporting these devices which means not getting any updates or fixes. I then decided it may be a good time to park the built-in Windows Home Server and switch to CentOS. I have chosen this Linux distribution because this is the one I’m most used to (it’s extensively used in corporate environments). Ubuntu could also serve this purpose but I still preferred CentOS since it comes with the minimum basic packages and allows you to keep growing it per your needs instead of shipping lot of features you don’t really need.

You will need:

  • VGA cable for the MediaSmart devices. These servers do not come with a built-in video port, so you will need to install one (you can either build it yourself or buy it from eBay).
  • Physical keyboard.
  • USB storage device.

The installation is pretty simple, although there are few tricky steps to take into account:

  1. Backup all the data you want to keep from the installed hard disks (the process will delete it!)
  2. Shut down your server.
  3. Connect the USB storage device where you have copied the CentOS installation files to the BOTTOM USB IN THE REAR PART. This is the only USB port that will work when booting up from an external disk.
  4. Connect the keyboard to any other USB port.
  5. Turn on the server.
  6. Press the DEL key to enter the BIOS and disable the option to suppress the boot selection. It’s located under the Advanced BIOS settings.
  7. Save the BIOS settings and when system boots up again press F12 to select the boot device.
  8. Chose the option ‘USB-CDROM’.
  9. Install CentOS normally.

Bonus pack, if you want to have a GUI. You will need to install the VGA drivers manually:

Enable the Ethernet connection (remember CentOS has it disabled by default):

ifup eth

You probably want to also have your ethernet connection enabled automatically when booting up:

vim /etc/sysconfig/network-scripts/ifcfg-eth0

Change the line:

ONBOOT=no

to

ONBOOT=yes

You can skip the 2 next steps if you are using an HP MediaSmart EX470, but I have listed them in case they help people with other systems.

Install pciutils in order to have the lspci command and list which VGA driver you need:

yum -y install pciutils

Check your VGA device:

lspci | grep VGA

Install the VESA drivers for XORG:

 yum -y install xorg-x11-drv-vesa

Install the evdev drivers for the mouse and keyboard to work properly with XORG:

yum -y install xorg-x11-drv-evdev

You are ready to go. Just type ‘startx’ on the command line and you should be able to enjoy the GUI.


Surviving India as a tourist

It has been almost ten years since I visited India for the first time and I loved its landscapes and people; so much that Karen and I decided to visit India again in a longer trip where we could know more about its culture and its people. I have also been fortunate to work with people here and make friends with many people who have shown me the highlights of India.

India is a magical place: its colors, customs and cuisine are amazing. It is a must to visit, but not as clueless tourist. I mean, the frequency and magnitude of the scams to tourists is of enormous magnitude and frequency.

warning scams

Delhi Train Station

Since we arrived in Delhi dozens of people have beeng trying to rip us off in different ways. It all started a few minutes after leaving the hotel for the first time: a very friendly guy approached us and after chatting amiably about Spain, he asked which zone were we trying to find and warned us that we should be careful because the street we were walking by was not safe. Kindly escorted us to a busier area where he led us to an Autorickshaw that would take us to the government tourist office, where we would be given free passes to visit the station. Plus we got a very cheap price for the taxi ride. We found he was a very nice guy since he was helping us being safe in a very unsafe area. When we got to the alleged government tourist office a very gentle guy gave us a talk on India and concluded with a very insistent suggestion to book all our trips through the alleged government agency: just asked us 3000 Euros each for 15 days of travel and accommodation. At that point we had already realized that it was a scam and graciously declined any proposal from this person, who seemed not to be in a good mood after spending an hour and a half giving us indications about the whole country. Collateral Damage: 0.20€ that we paid the Áutorickshaw driver; benefit: 1.5 hours of information about places to visit. We can not complain.

scam tourism office Connaught place

SCAM: False Government Touristm Office near Connaught Place

In Delhi people tried to rip us off almost every few minutes. In other cities scam attempts occur more widely spaced. Staring with taxi drivers trying to take us to other fake tourism offices, moving to blackmailers inviting us to buy tickets for the monuments and thus prevent women being groped in the queue and ending with coordinated groups of people blocking the entrance to the railway station indicating that we should buy a pass at another office (obviously false). All this in front of the police. Nor scarce dishonest taxi drivers who receive commission for taking tourists to different hotels from those they have booked using false claims (most common: the hotel has burned) or simply refusing to take you if you do not pay a very high price for the journey. These are just few examples of the endless scam attempts around touristic areas.

Tourists scams do not end with this selected group of scammers. In the foreign exchange office you will see how the agent keeps some few rupees for his pocket. The same scene is repeated when we changed money at the Punjab National Bank. In the Vodafone shop we are buying a Vodafone SIM card with a balance of Rs.500 and when the line is activated after a few hours the amount loaded in the SIM is only 200 rupees. The ticket  agent in the undergroud station refuses to sell 2 tickets worth 44 rupees if we do not pay 400 rupees, the train ticket agent gets 50 rupees for himself the and museum officer sells us a combined ticket for the next day, which ws not necessary to pay since all the museums were free the day after. Most often the solution is simply refusing to accept frauds or threaten to call the police. Although sometimes it seems more sensible to overlook some things. For example, some travelers mention that if you do not pay a “premium” for train tickets, chances are that these will not be available.

India is a complex country and these dishonest practices towards tourists is a tiny problem compared to the enormous challenges that the country face. If you want to visit India, do not think a single moment, it is an incredible place.